
Building your own gaming PC can be an exciting and rewarding project. It allows you to tailor your system to your specific needs and preferences, ensuring you get the best performance for your budget. Here’s a step-by-step guide to help you build a powerful gaming PC from scratch.
Plan Your Build
Define Your Goals: Determine what you want from your gaming PC. Consider the types of games you play, the resolutions you want to support, and any other uses like streaming or video editing.
Set a Budget: Decide how much you’re willing to spend. This will guide your choices for components and help you balance performance with cost.
Choose Your Components
Central Processing Unit (CPU): The CPU is the brain of your computer. Choose a high-performance processor from brands like Intel or AMD. Look for models with multiple cores and high clock speeds for better gaming performance.
Graphics Processing Unit (GPU): The GPU handles graphics rendering and is crucial for gaming. Select a powerful GPU from NVIDIA or AMD that fits your budget and gaming needs.
Motherboard: The motherboard connects all your components. Ensure it is compatible with your CPU, GPU, and other parts. Check for features like sufficient RAM slots and PCIe slots for future upgrades.
Memory (RAM): Aim for at least 16GB of RAM for smooth gaming. Choose high-speed RAM to complement your CPU and GPU.
Storage: Use a Solid State Drive (SSD) for faster load times and overall system speed. Consider adding a Hard Disk Drive (HDD) for additional storage if needed.
Power Supply Unit (PSU): Select a PSU with enough wattage to support all your components. Look for a unit with a good efficiency rating (80 Plus Bronze or better) and reliable brand.
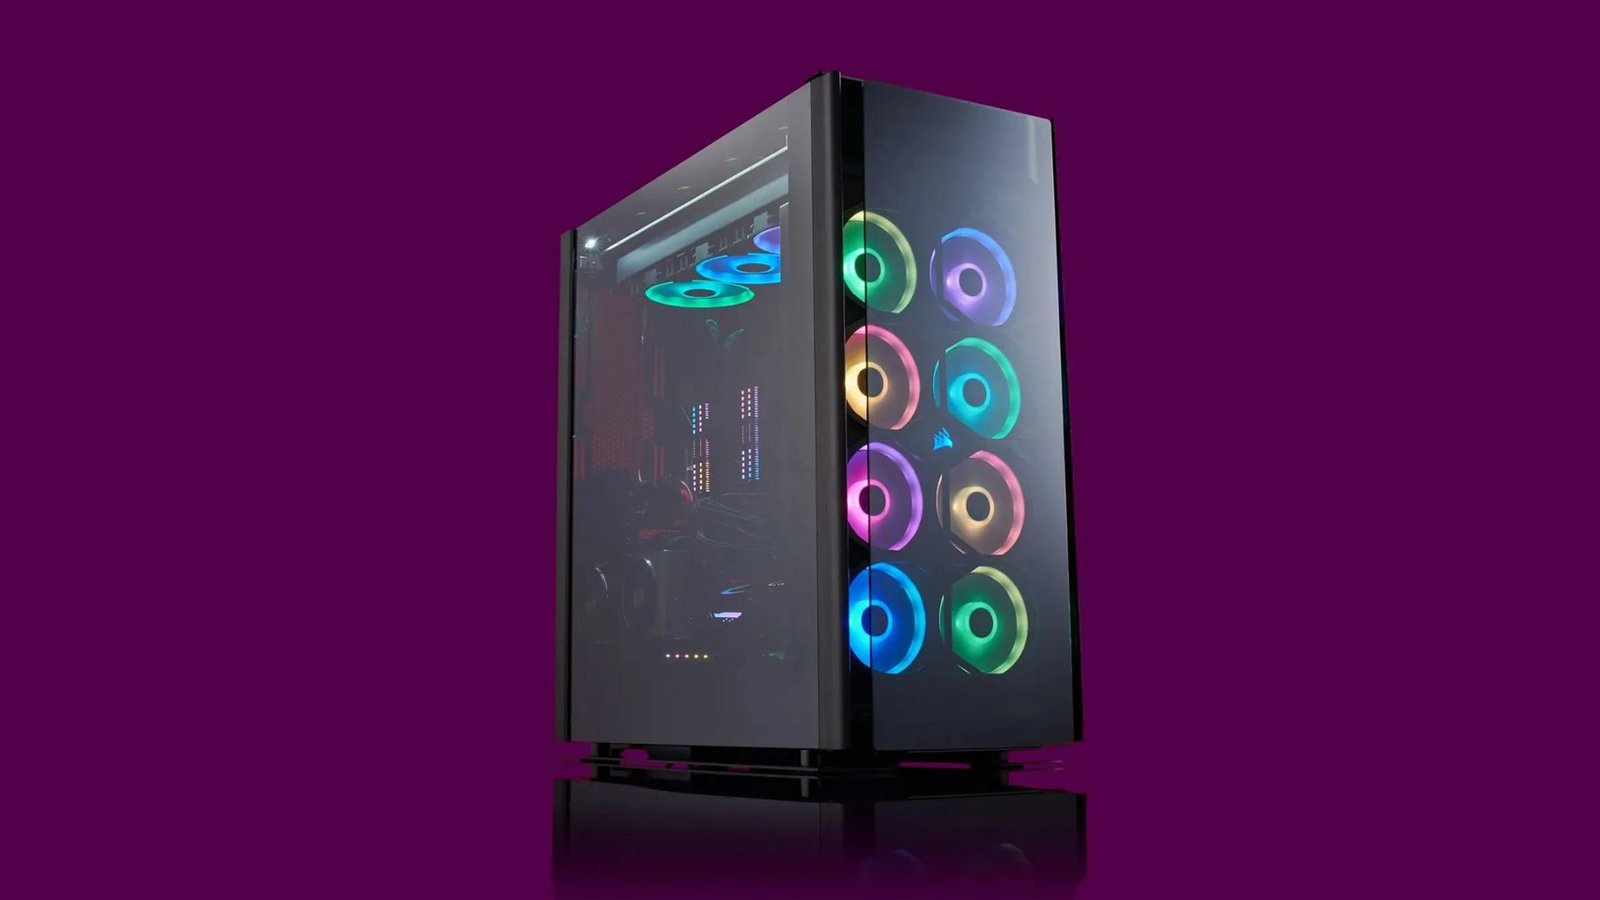
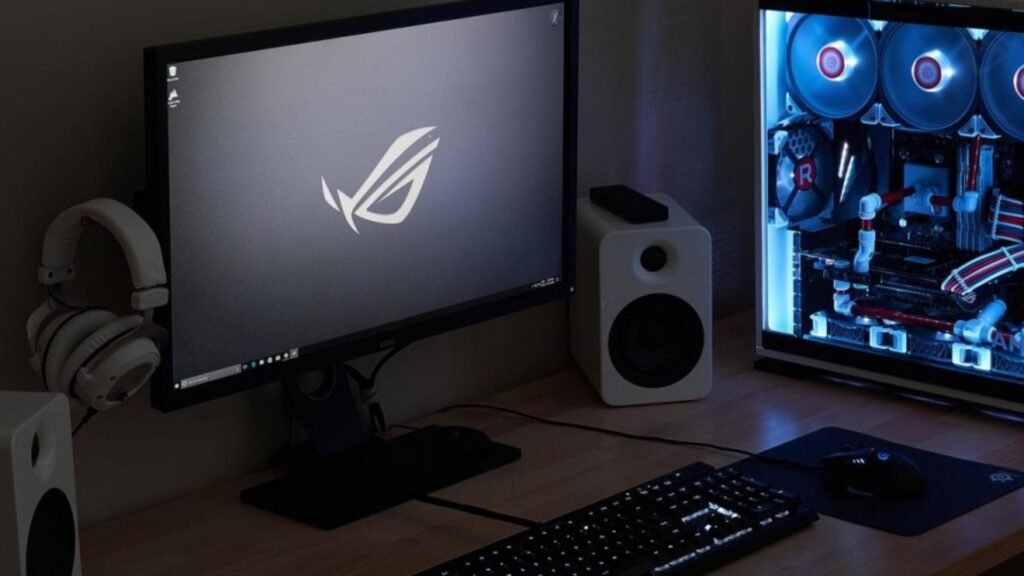
Case: Choose a case that fits your motherboard size (ATX, Micro-ATX, etc.) and has good airflow. It should also accommodate your GPU and cooling system.
Cooling System: Depending on your CPU and GPU, you may need additional cooling. Consider aftermarket air coolers or liquid cooling solutions for better thermal management.
Operating System: Decide on an operating system like Windows or Linux. Windows is commonly used for gaming due to its broad compatibility.
Assemble Your PC
Prepare Your Workspace: Ensure you have a clean, static-free workspace. Use an anti-static wrist strap to prevent damage to components.
Install the CPU: Carefully place the CPU into the motherboard socket. Align it according to the markings and secure it with the provided locking mechanism.
Apply Thermal Paste: If your CPU cooler does not have pre-applied thermal paste, apply a small amount to the CPU surface to improve heat transfer.
Install the Cooler: Attach the CPU cooler according to the manufacturer’s instructions. Ensure it makes good contact with the CPU.
Install RAM: Insert the RAM sticks into the appropriate slots on the motherboard. Press down firmly until they click into place.
Install the Motherboard: Place the motherboard into the case, aligning it with the standoffs. Secure it with screws.
Install the GPU: Insert the GPU into the PCIe slot on the motherboard. Secure it with screws and connect any required power cables.
Install Storage Drives: Mount your SSD and/or HDD into the case using the provided brackets or slots. Connect them to the motherboard and PSU.
Connect Power Cables: Attach power cables from the PSU to the motherboard, GPU, and storage drives. Ensure all connections are secure.
Connect Case Fans: If your case has additional fans, connect them to the motherboard or fan controller.
Install Additional Components: If you have any additional components like Wi-Fi cards or extra drives, install them and connect them as needed.
Test Your Build
Power On: Turn on your PC and check if all components are functioning. Ensure you see the BIOS screen and that the system recognizes all your hardware.
Install the Operating System: Insert your OS installation media (USB drive or DVD) and follow the prompts to install the operating system on your SSD.
Install Drivers: After installing the OS, download and install drivers for your GPU, motherboard, and other components. This ensures optimal performance and compatibility.
Run Benchmarks: Test your PC’s performance with benchmarking tools to ensure everything is running smoothly. Check for any issues and make adjustments as needed.
Optimize and Maintain Your PC
Update Software: Keep your operating system and drivers updated to ensure compatibility with new games and applications.
Monitor Temperatures: Use software to monitor your system’s temperatures and ensure everything is cooling properly. Adjust fan speeds or cooling solutions if necessary.
Regular Cleaning: Clean your PC regularly to prevent dust buildup. Dust can obstruct airflow and lead to overheating.
Backup Data: Regularly backup important data to avoid loss in case of hardware failure.
Conclusion
Building a gaming PC can be a fulfilling experience, allowing you to customize a powerful machine tailored to your gaming needs. By carefully selecting components, assembling your PC with care, and optimizing its performance, you’ll have a system capable of delivering exceptional gaming experiences. Enjoy your new gaming rig and the endless possibilities it offers!